Bring a reference product or a new idea. We help brands develop children’s play and home products through product redesign, customization, appearance and structural design. We accept standalone design commissions as well as projects that continue through 3D model approval, tooling and production.
Share a reference product and tell us what you would like to change. We explore a new direction for its appearance, details or structure, then develop the selected design.
A useful starting point: a product link or photo, the changes you have in mind, and the features you want to keep.
02 / NEW PRODUCT DEVELOPMENT
Start with a new idea.
Describe your idea, intended use and the people it is for. We explore multiple design directions with you, select a direction together and develop it into a more detailed product proposal.
A sketch or initial idea is enough to begin the discussion. You do not need a finished technical brief.
PRODUCT REDESIGN CASE STUDY
A new direction for a familiar storage unit.
From an owl-inspired reference to cloud-and-rainbow concepts: explore appearance, color, storage layout and proposed assembly. This storage redesign has not yet entered tooling or production.
Original & Redesign
See how an owl-inspired storage unit evolves into a cloud-and-rainbow concept.
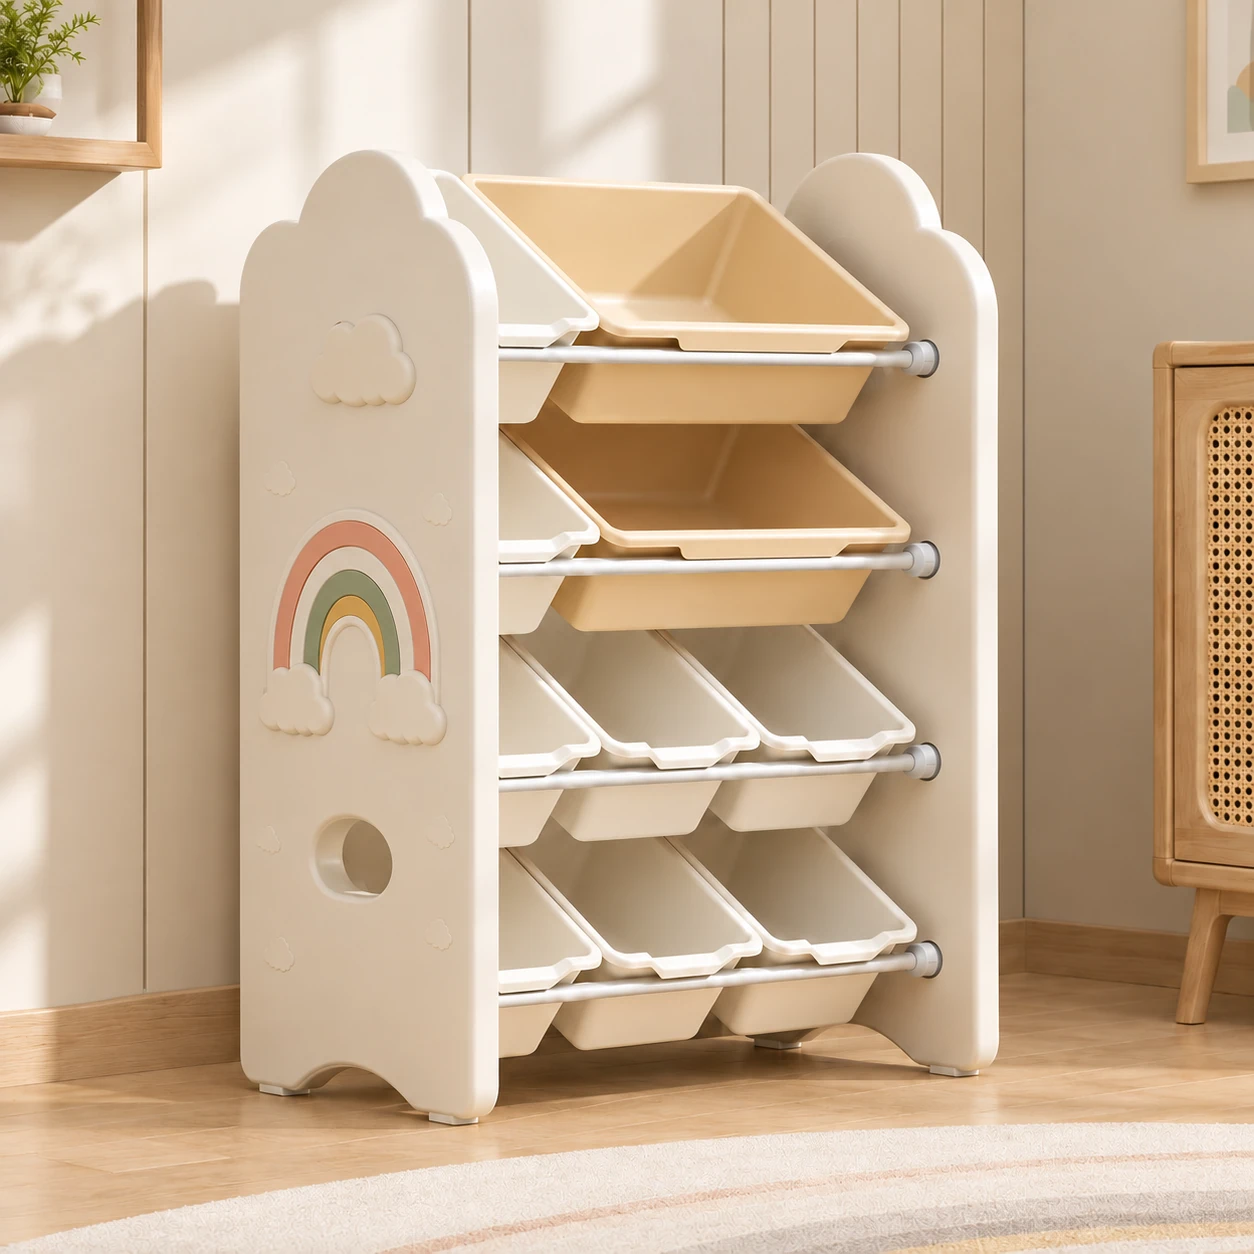
Final Concept
A cloud-and-rainbow redesign, shown as a product visualization.
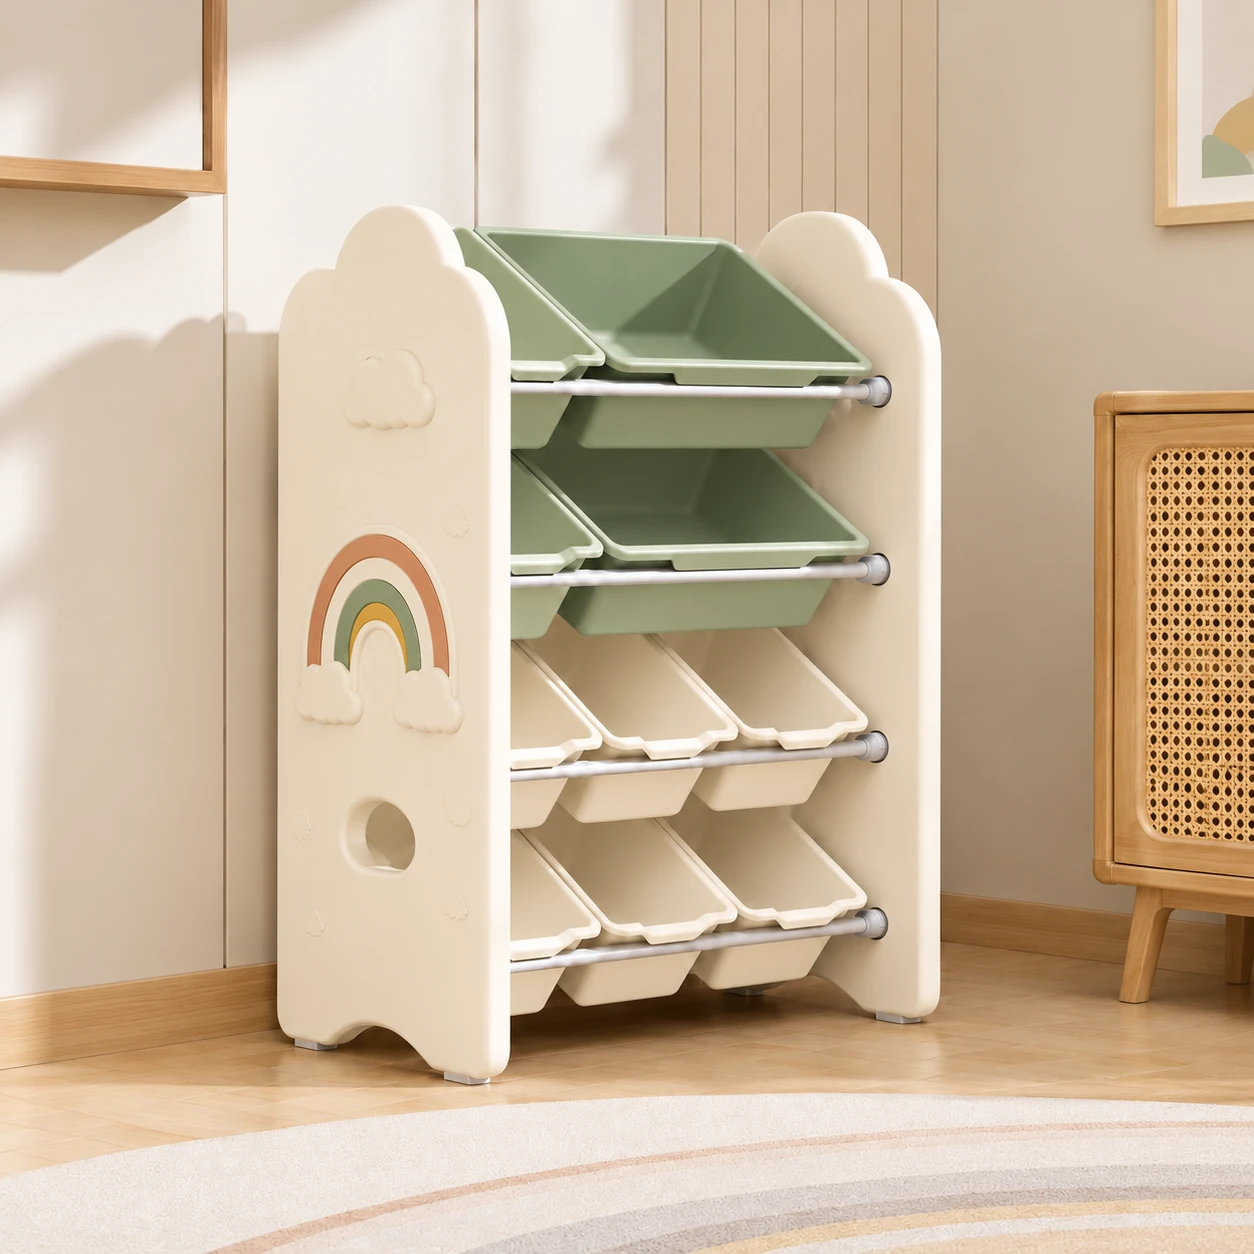
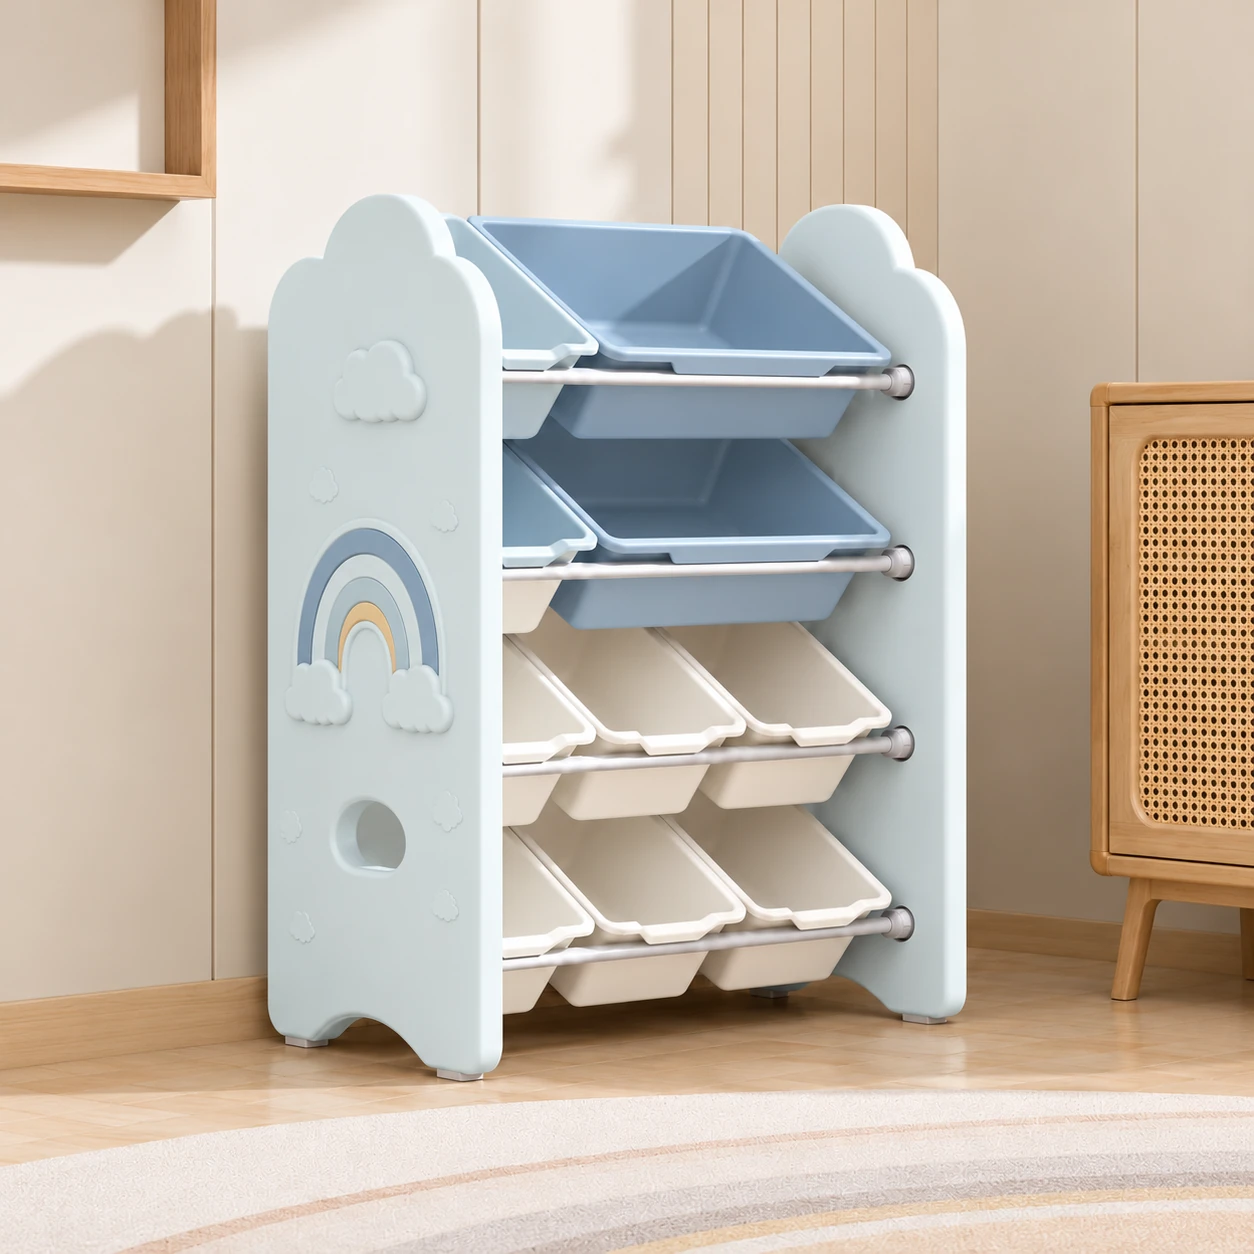
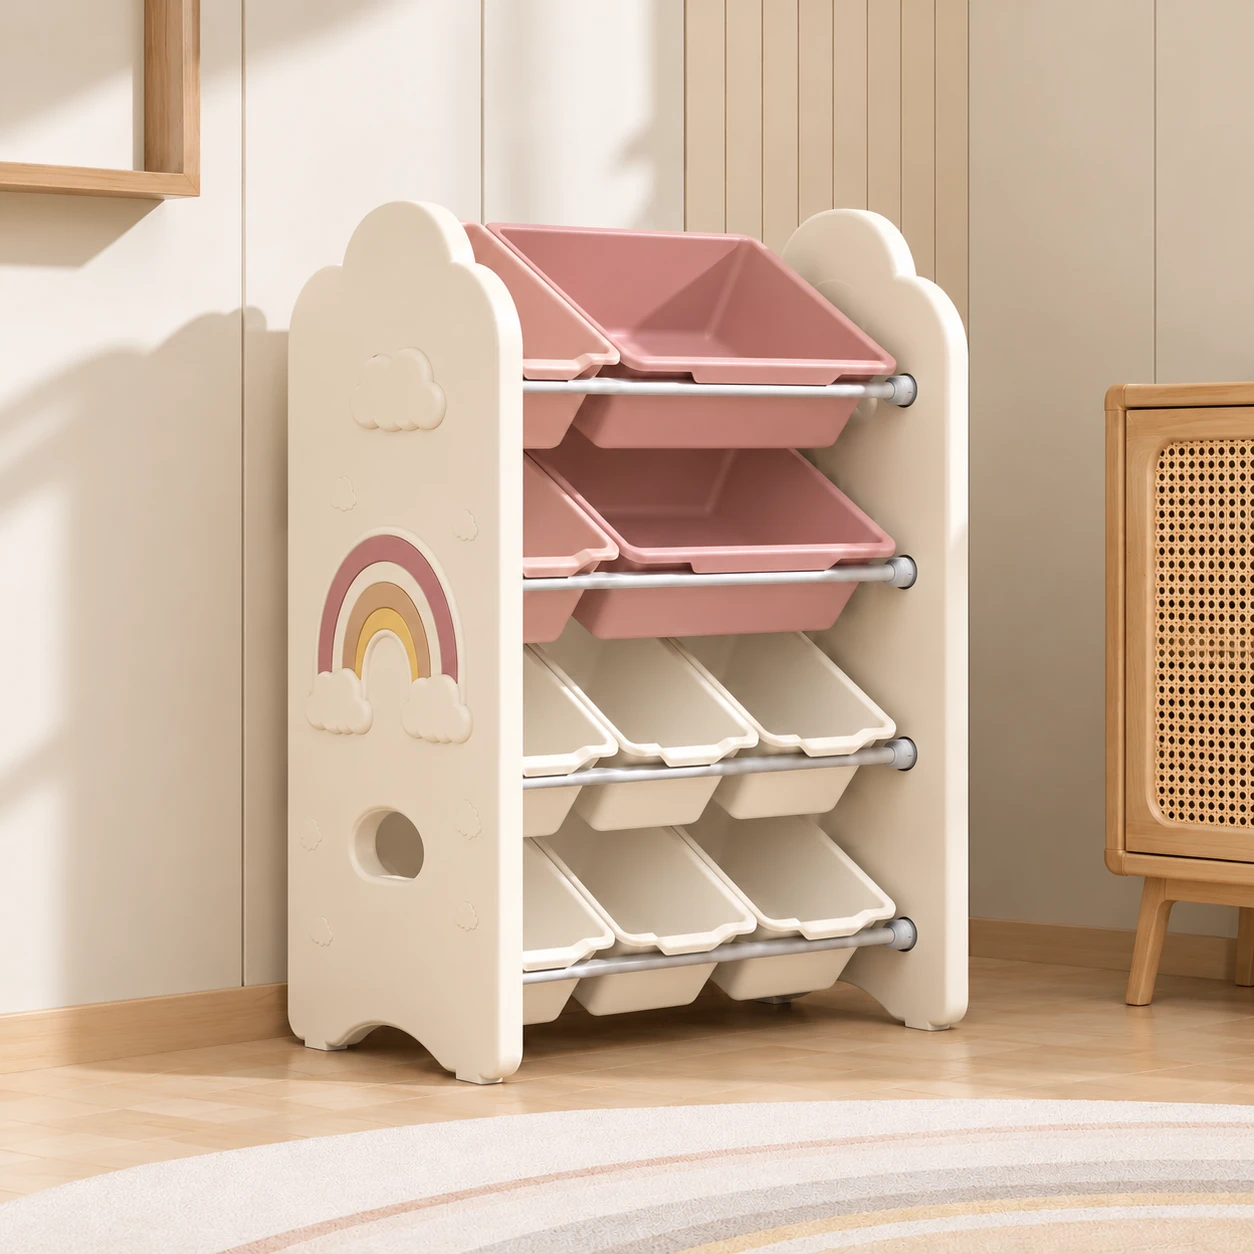
Color Directions
Three color studies for the same cloud-and-rainbow storage concept.
Cream & Sage
A soft sage accent paired with a warm cream base.
Color concept · Design visualization
Mist Blue
A muted blue accent for a cooler color direction.
Color concept · Design visualization
Oat & Rose
A dusty rose accent paired with soft oat tones.
Color concept · Design visualization
Color references and sample appearance are reviewed for the agreed material and process.
Storage Layouts
Three ways to rethink the storage arrangement while keeping the cloud-and-rainbow character.
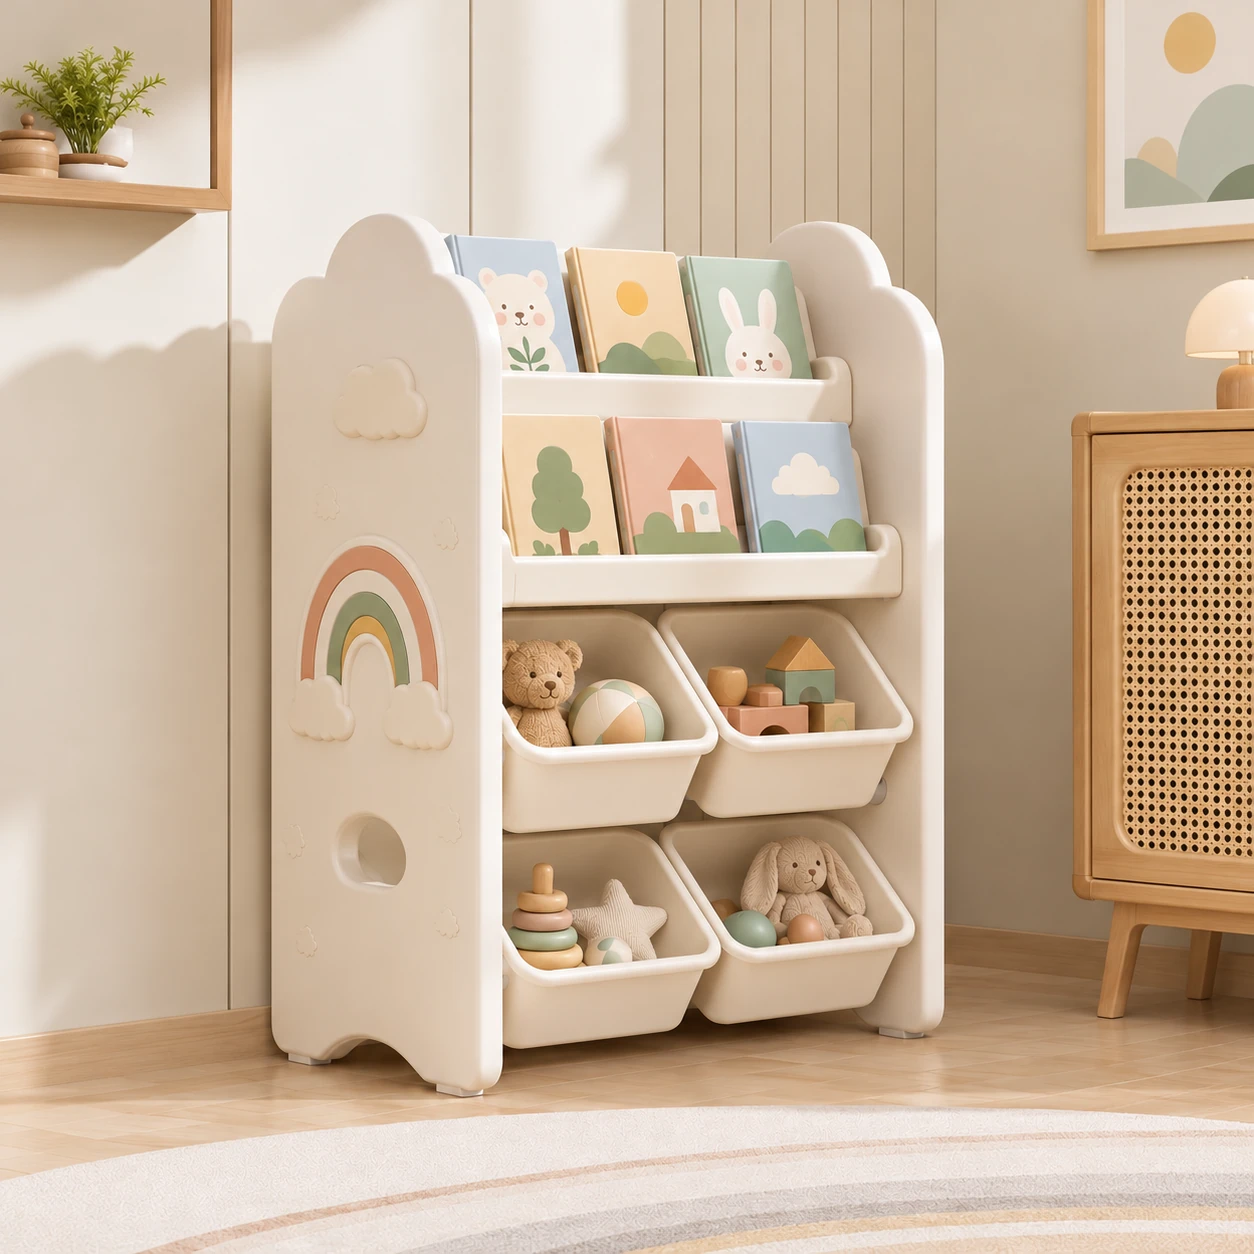
Books & Toys
Front-facing book display with lower toy bins.
Layout concept · Design visualization
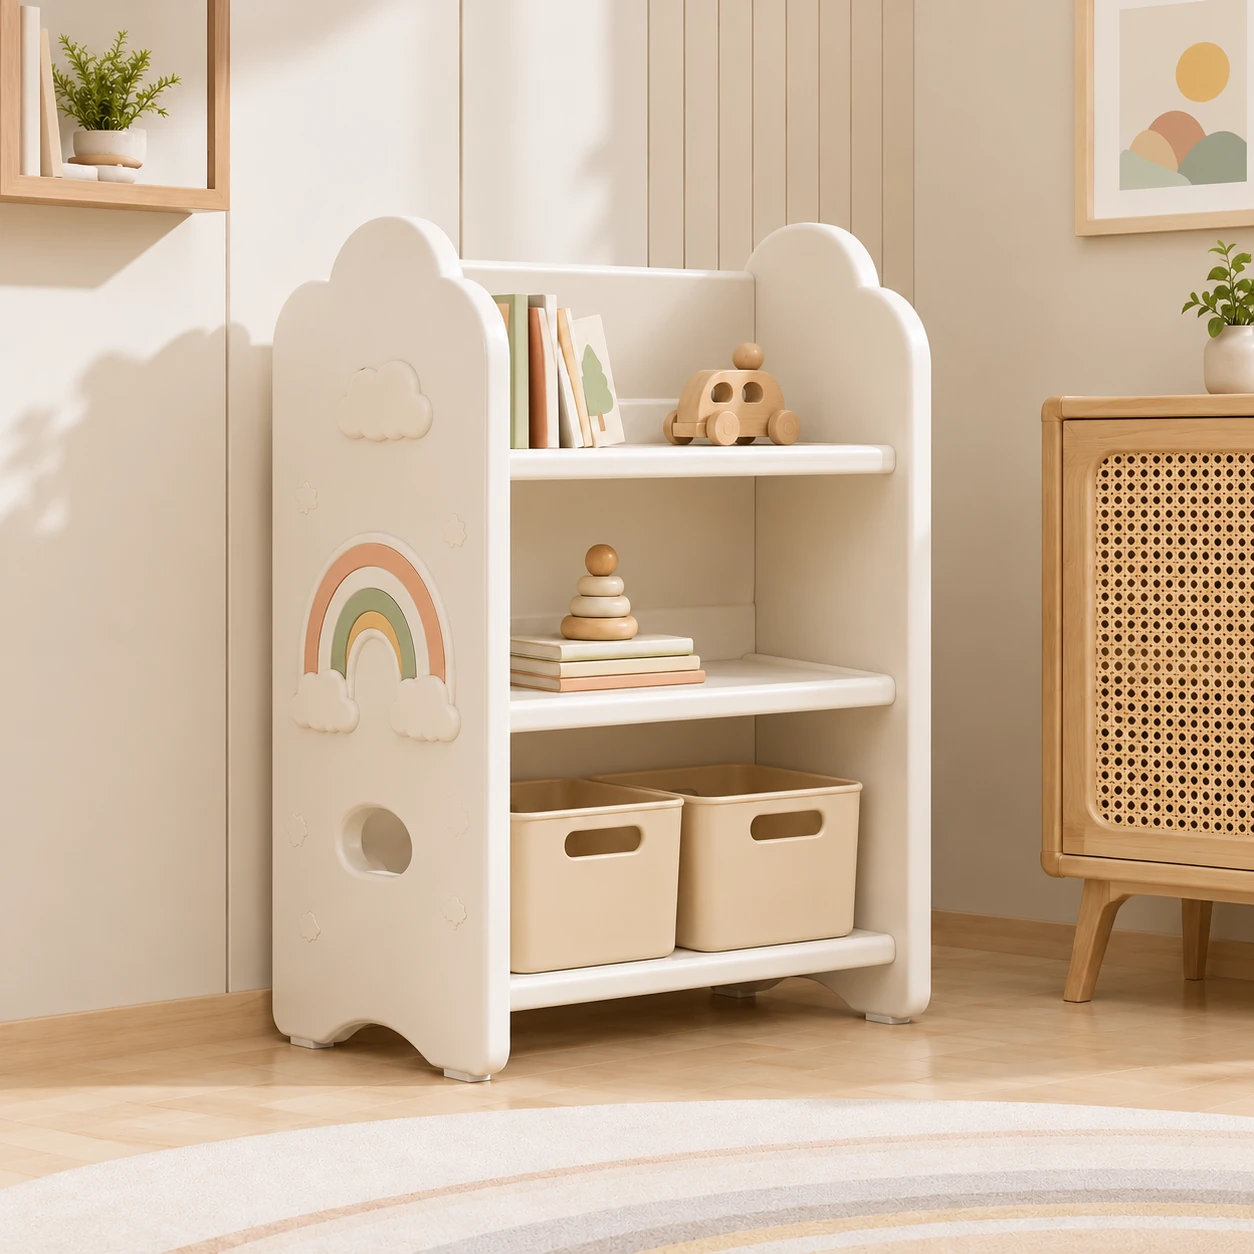
Open Shelving
Open shelves with baskets for smaller items.
Layout concept · Design visualization
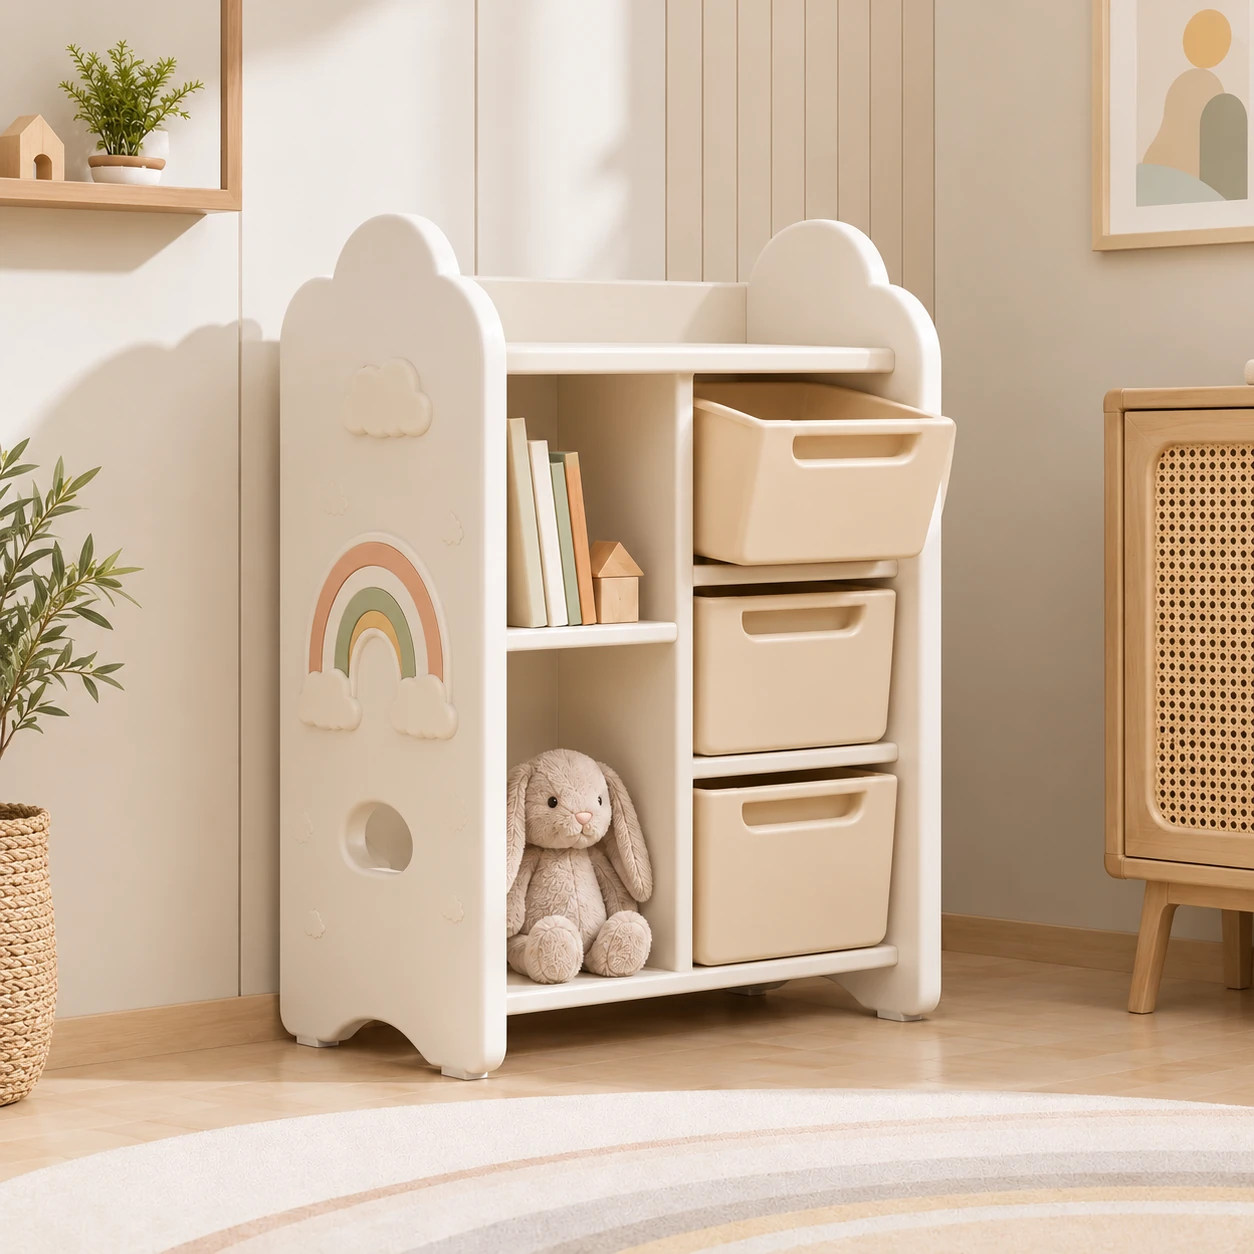
Mixed Storage
An asymmetric arrangement of open compartments and storage bins.
Layout concept · Design visualization
Each layout is a separate concept direction. Dimensions, connections and component requirements need review before development.
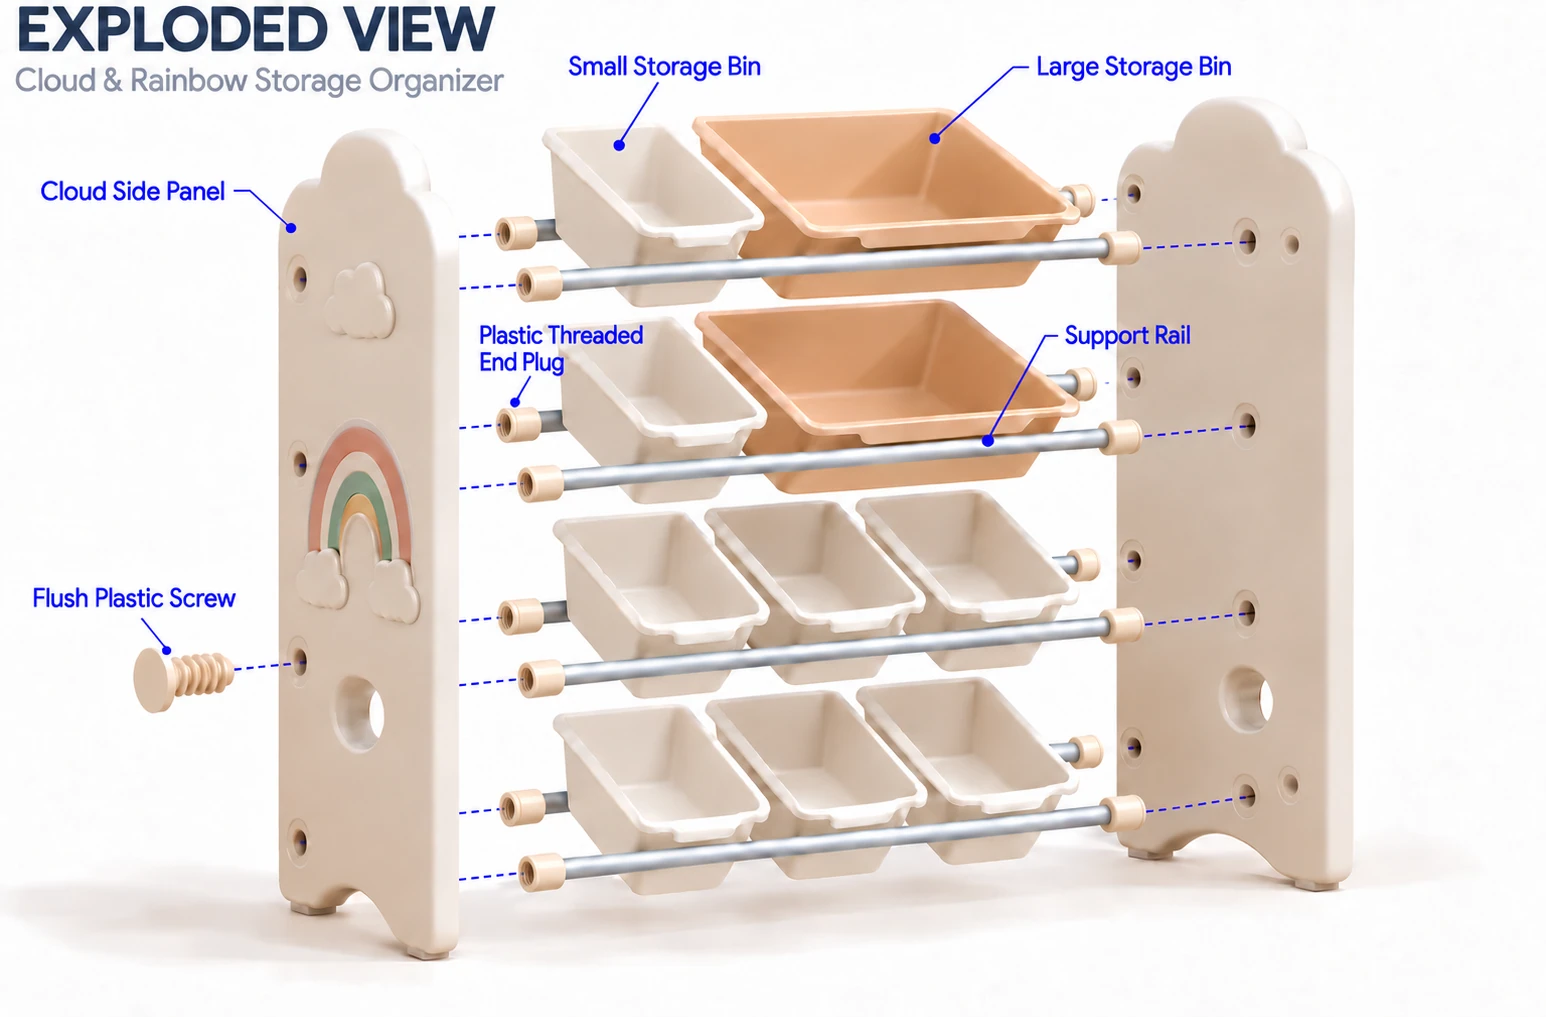
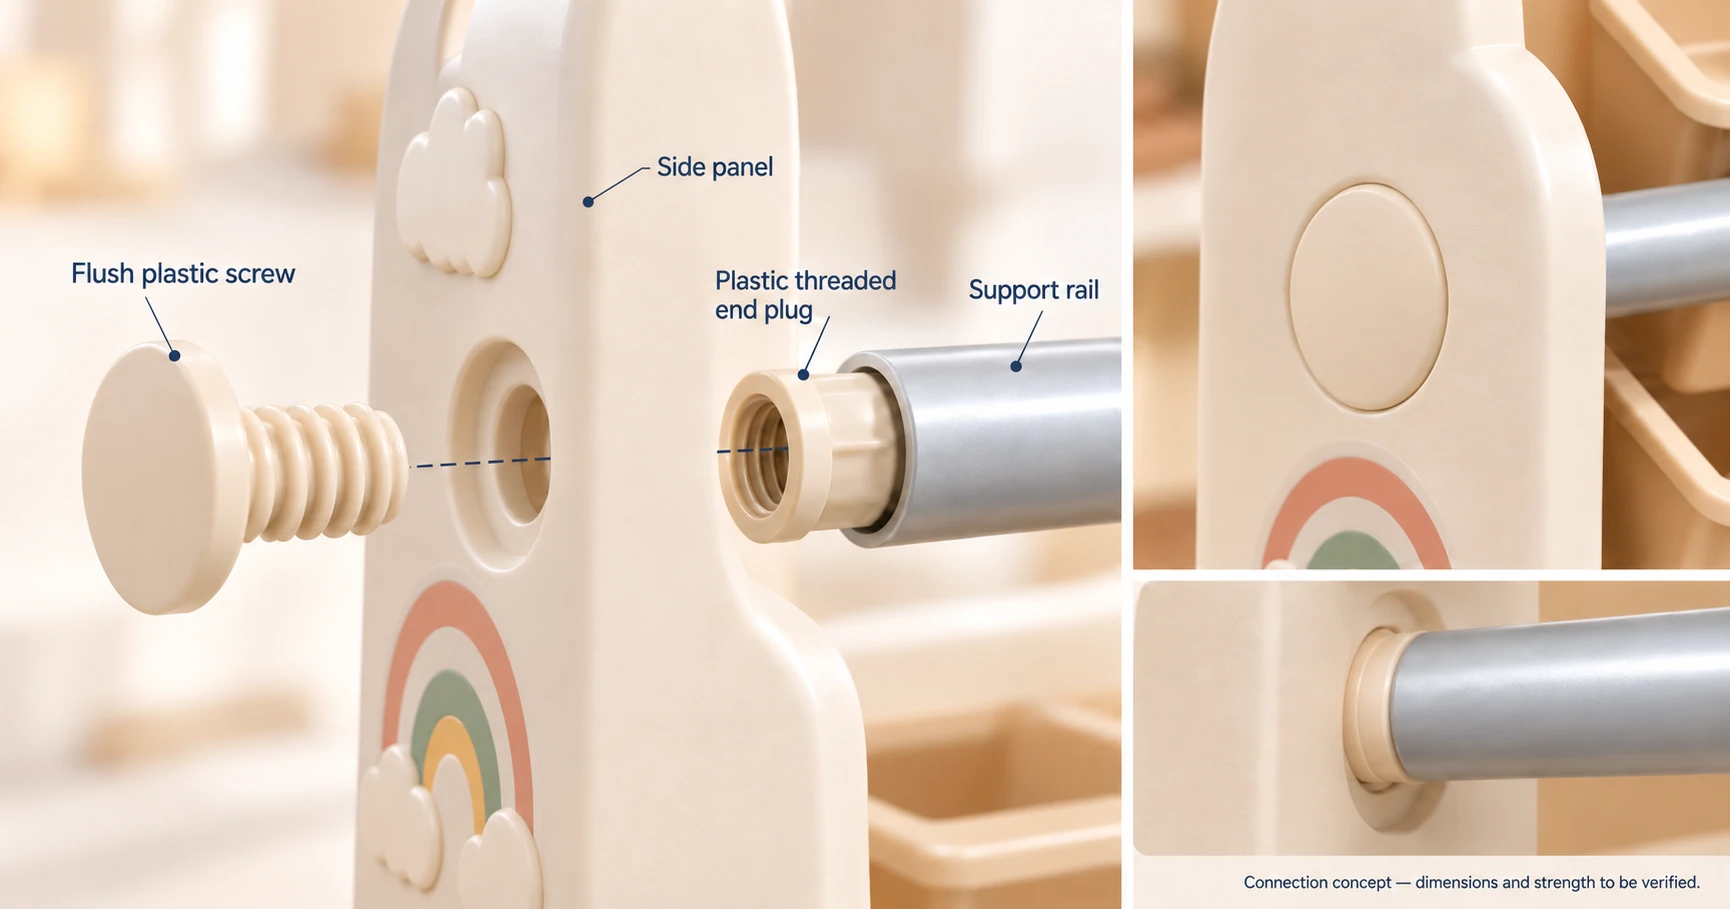
Structure & Connection Details
A closer look at the components and the screw connection between the side panels and support rails.
A plastic screw passes through the side panel from the outside and threads into a plastic end plug in the support rail. The screw head forms the visible outer finish.
Design visualizations of the selected connection approach. Dimensions, tightening method and connection strength remain to be verified.
ON THE WORKSHOP FLOOR
A closer look at production.
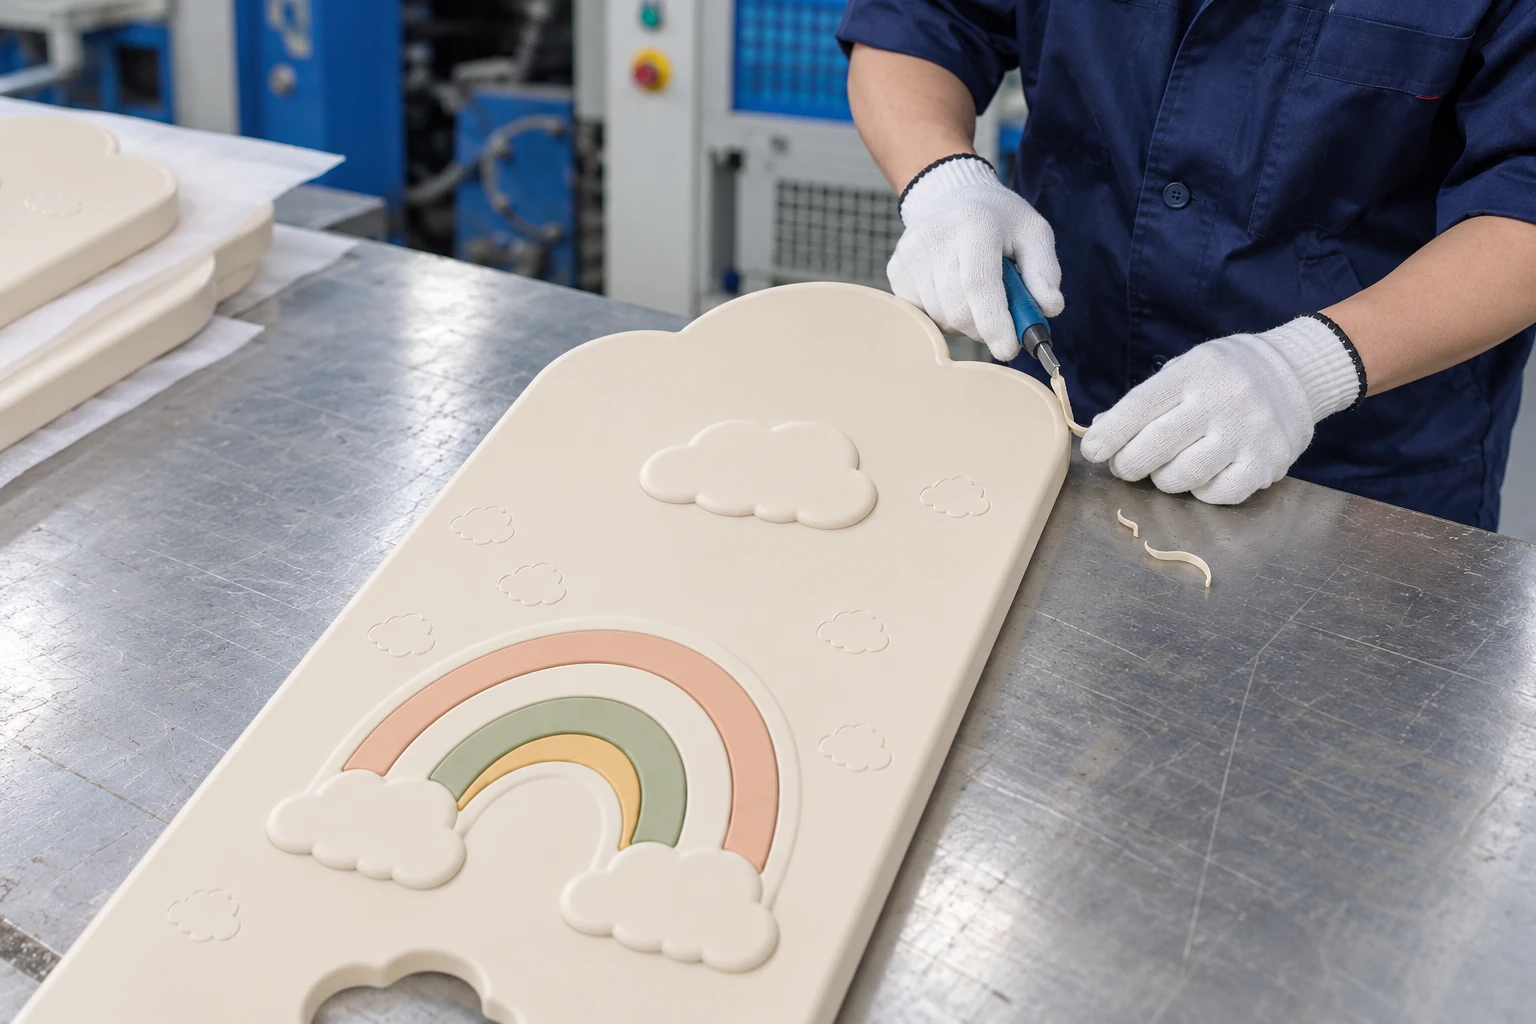
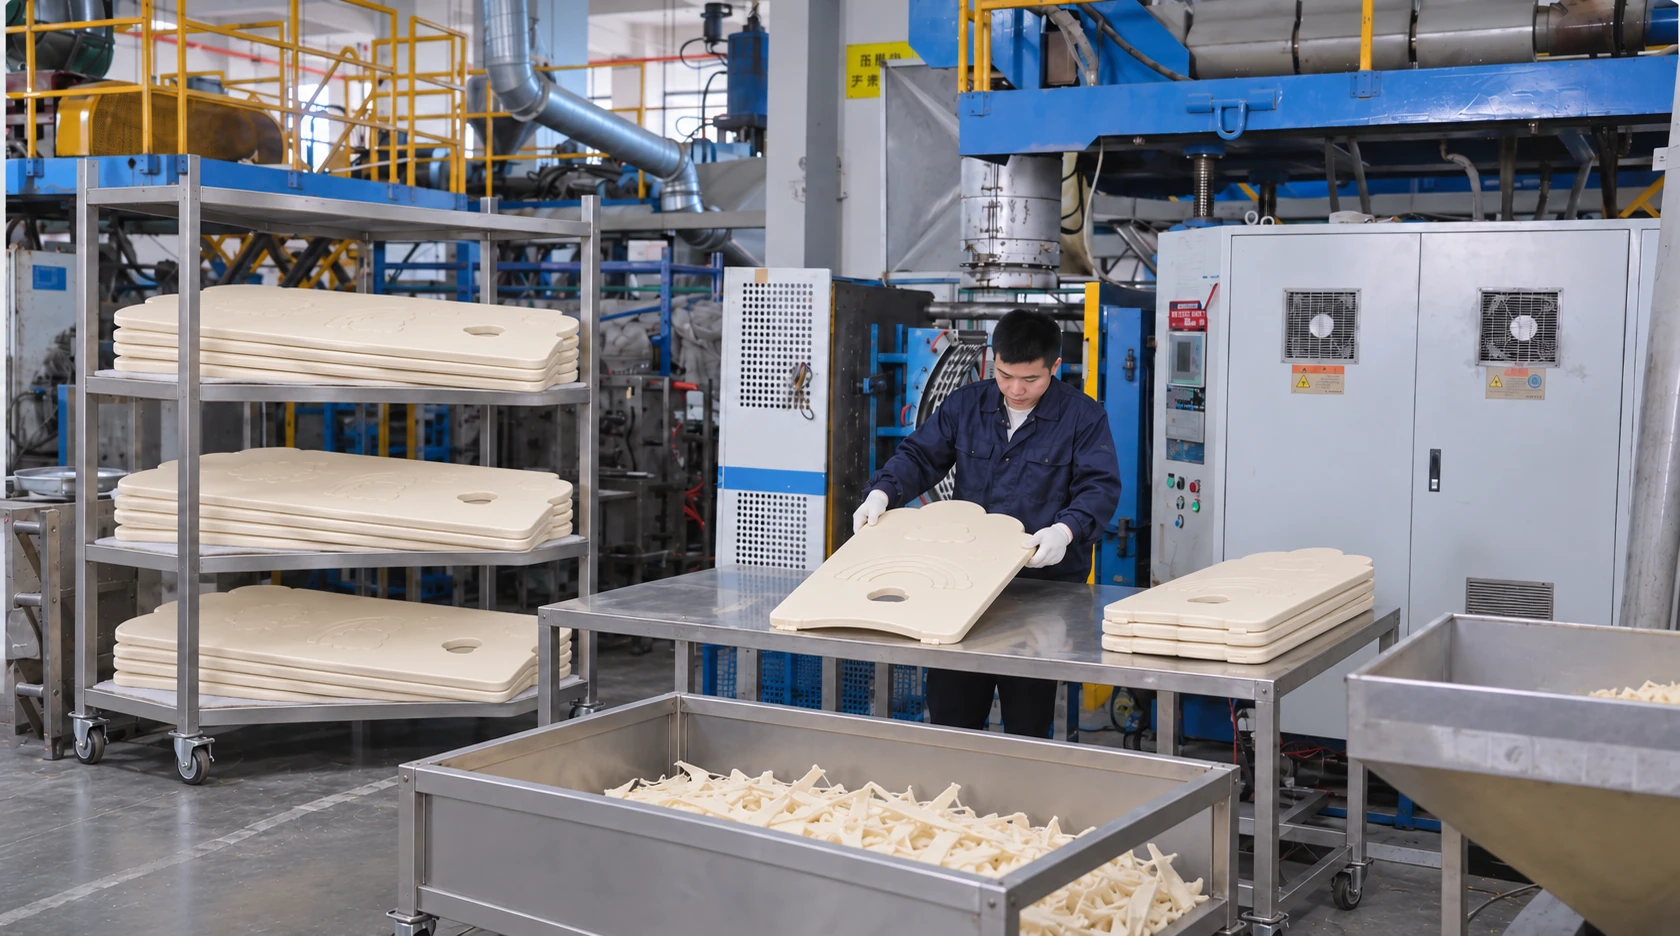
On-site photographs of side-panel finishing and the workshop environment.
Side-panel finishing
Trimming the panel edge at the workbench.
On the workshop floor
Side panels at the workstation, with equipment and stacked parts in view.
WHAT WE DO
Toy product development and children’s home product design.
Appearance design
Explore the silhouette, visual character, colors and details that define the product.
Structural design
Develop the components, connections and assembly around the intended function.
3D modeling
Build and refine the selected design so its form and construction can be reviewed.
Design approval
Review the 3D model and agree on the design before tooling and production.
Tooling
Develop the molds needed for the agreed product and manufacturing approach.
Production
Take the confirmed design into production with agreed specifications and order requirements.
Our toy design services are available as standalone commissions or as part of a development and manufacturing project. Project scope, 3D review requirements, tooling, costs and production schedules are agreed for each project.
WORKING TOGETHER
How we develop your product.
From a reference product or an early idea to a design we develop together.
01
Share your starting point
Share a reference product, images or an early idea.
02
Explore and select a direction
We explore design directions with you and agree on a direction to develop.
03
Review and approve the 3D model
We provide a 3D model for review and approval before tooling begins. Model files, rendered images and online previews can be provided, with deliverables agreed for each project.
04
Move into tooling and production
Once you approve the 3D model, we proceed with tooling and arrange production.
BEFORE WE BEGIN
Questions about your project.
Can I start without drawings?
Yes. A reference image, a product link or an early idea is enough to begin. We can explore design directions with you before developing the selected proposal.
What can be changed in an existing product?
We can discuss colors, decorative details, the overall shape, storage layout and structure. The scope of changes is assessed for each project.
What will I see before tooling begins?
We provide a 3D model for your review and approval. Once you approve the model, we proceed with tooling and arrange production.
What should I share when I first get in touch?
Send a reference product or describe your idea, along with anything you would like to change. Your target market, expected quantity and timing can be discussed as the project takes shape.
LET’S DISCUSS YOUR NEXT PRODUCT
Bring a reference. Or just an idea.
A reference product or an initial idea is enough to begin. See what you can share, then contact us directly to discuss your project.